Showing posts with label Decorating. Show all posts

Lyla's rustic/shabby/fun room

Hey everyone! I wanted to share some pics of Lyla's new room in CA. We adore our new house and I've been having a lot of fun decorating her new room. Since our budget is pretty much zero I've reused a lot of stuff and used a lot of salvage items as well as "shopping the house" for a lot of stuff. I hope you all like it!
 I use a dresser for most of Lyla's clothes so her closet was pretty much empty. I decided to put her crib in there and give her a lot more usable play space. I painted the lower half of the closet a deep purple to give it some interest. The regular wall color is a light pistachio color.

 These are some rustic pallet boards with some silver house numbers scored at a garage sale.
 Pallet shelf I made with an old wall shelf screwed on top of a curb find pallet. I attached some Ikea drawer handles on the pallet to hold Lyla's dresses that would've been hanging in the closet.
 Lots of options for this pallet. I'm sure I'll add more stuff to it over time.
 The turquoise handles were SO cheap. 2.99 for a 6 pack and they came in other colors too! They reminded me of the glass handles but are more modern looking. I adore them!!
 Ikea purple curtains with Lyla's turquoise dresser made a while back.
 Shabby chic faux roman shade made from a burlap coffee sack. The curtain rod is a piece of driftwood
 Ikea expedit bookshelf and a gallery wall I made for Lyla.
 Free CL reupholstered chair that I did a while ago. Purple quilt was a gift.

All in all I'm really happy with the room so far. Its a work in progress and I need to find a rug but I love the vibe! What do you guys think??

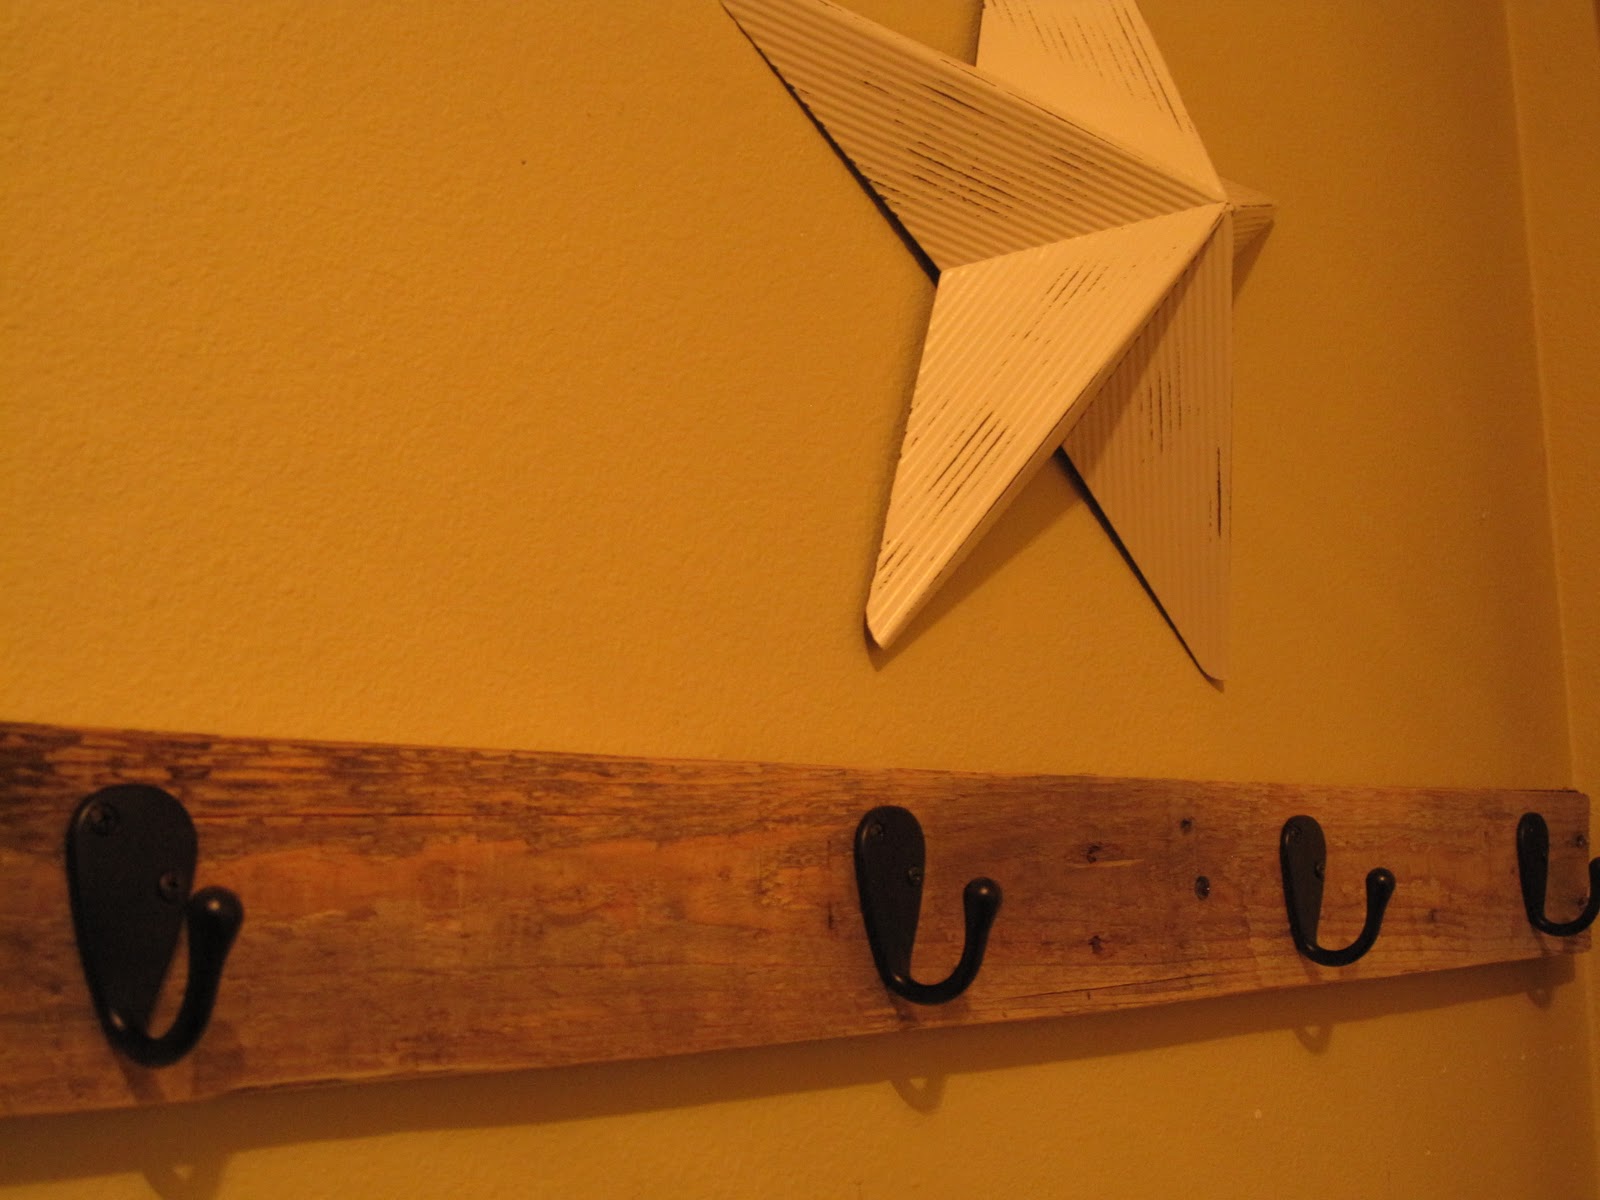
Pallet board into rustic chic coat rack

Hey all! I was browsing Ana-white.com earlier today (formerly knockoffwood) and found this amazing idea for a coat rack. Anyone besides me have a garage with a few discarded and lugged home pallets??? Well then you can make this coat rack for practically nothing! (See Honey...I knew those things would come in handy!) During nap time today I pried one of the boards off the pallet with a hammer, sanded it lightly with my palm sander to remove anything that might snag clothing, and attached 4 hooks to it. Now it hangs in all its rustic-ness on my wall to help me organize my entry way! I love love LOVE it! I was aiming for rustic-beaten up and left outside in the rain for a year-chic! I hope you all try this...its crazy easy and you'll love it! You could totally paint it to match your decor but I happen to like it with the raw wood. Pallets have so much character and the wood is always the most perfect distressed wood...you just can't recreate that! I hope you all had an awesome Christmas and New Years. Here's to an amazing 2011!!


Linking to Frugal friday at the Shabby Nest

State of the uterus address...plus Master bedroom sneak peak

Hey everyone...hopefully you all had a restful weekend. I did not! We spent the whole day Saturday running errands and then went over to my husband's parent's house to see his brother and sister in law and their new adorable baby boy that are visiting from Denver CO. It was so good to see them and spend time with family...but....Liam was not himself! He was fussy and whiny and really REALLY hard to please. He's a toddler so obviously you have those off days but I could tell something was up. Well when we got home we put him to bed and when he woke up the next morning he was burning up. He had a 104 fever and was miserable! Needless to say we skipped church and blew off all other plans to stay home and take care of our sick kiddo. He's had a fluctuating fever since then but today he woke up with nothing. Yay! The pregnancy is moving right along. 4 weeks and counting till I (hopefully) meet my baby girl! Lets just hope she doesn't plan on being fashionably late and making me wait in agony...wouldn't that be fun! lol
So as most of you that read my blog know, my family and I recently moved into a new place. Its a great house and we are loving playing around with paint colors and arranging everything. I started painting pretty much right when we moved in. There were two bathrooms that were a HORRIBLE day-glo Terra Cotta color and the color offended every part of me that longed for something fresh and clean. So after scoring on two separate gallons of great Behr oops paint at Home Depot (aka my second home) I got to work transforming those baths. One is a half bath and one is a full bath upstairs between the rooms..but neither is that huge so it was easy for me to tackle the project by myself. (promise to post pics of the baths soon)
Well the master bedroom was the only other room that I had on my "must paint" list before baby girl arrives. I knew I wanted to go with a darker color in there...kind of a steely gray...storm cloud kinda feel because it would make all the white wood in the room majorly pop. Well what do you think I found while browsing the paint section at Fred Meyer last month???? Oh ya...you guessed it....a storm cloud-ish color of blue gray that was in their oops section for 5 bucks! Gotta love being in the right place at the right time! Well this color was the perfect tone for what I was going for...but it was REALLY dark. I painted a small amount of the dark color on the wall and lived with it for about a week. Yup...too dark. Well I didn't want to buy more paint and I really just wanted to start the project and not make yet another trip to home depot so I grabbed the dark color and a half gallon of creamy white that I had in the garage and mixed them together. After a vigorous mixing it looked like just the right blend of "moody but not scary" blue gray. I got to work on the room yesterday at around 11am...then my husband came home in what literally felt like 2 hours later...um it was 6pm and I had been working on the painting ALL DAY. (My toddler was happy and well fed during this painting process...don't report me for child neglect!)
So after taking a trip to Taco Bell to feed my family because I had obviously lost way too much track of time to make dinner...and the fact that I could barely move...I put down the roller for the night with only one wall left to do. Dark colors are kinda a pain...they require really REALLY even coats and usually it take at least 2 and a half coats to get the right color with no splotchy-ness.
So today I finished that last wall and did a special art project for above our bed during Liam's nap time...I love how the room came out! I'm totally not done with it yet but a few of you have asked to see pics of the new place so I didn't want to keep you in suspense any longer. Plus if I wait until my house is perfectly decorated and spotless to take pics and do a blog post you guys will be waiting A LOOOONG time. lol.


Ok so in a couple of these pics the wall color is showing up kinda purple-ish. Its totally not...definitely a cool blue gray. I showed you guys the "safe zones" that were clean and not covered in cheerios and paint drops. I am going to be reupholstering my headboard fairly soon...most likely in drop cloth or something neutral and plain. I really don't like how the color's in it look in that room. That picture that's above the headboard is the word Forever and was part of my nap time accomplishments today. Its just a piece of drop cloth and some acrylic paint and a frame that I had in my garage. Super easy!
I hope you guys like it...I'd love some advice on art and stuff that will help balance out the deep wall color. I'm totally not used to having a dark wall color but I love it in that room! Hope everyone has a fabulous week and please pray that baby girl decides to "head out" sooner rather than later! :)