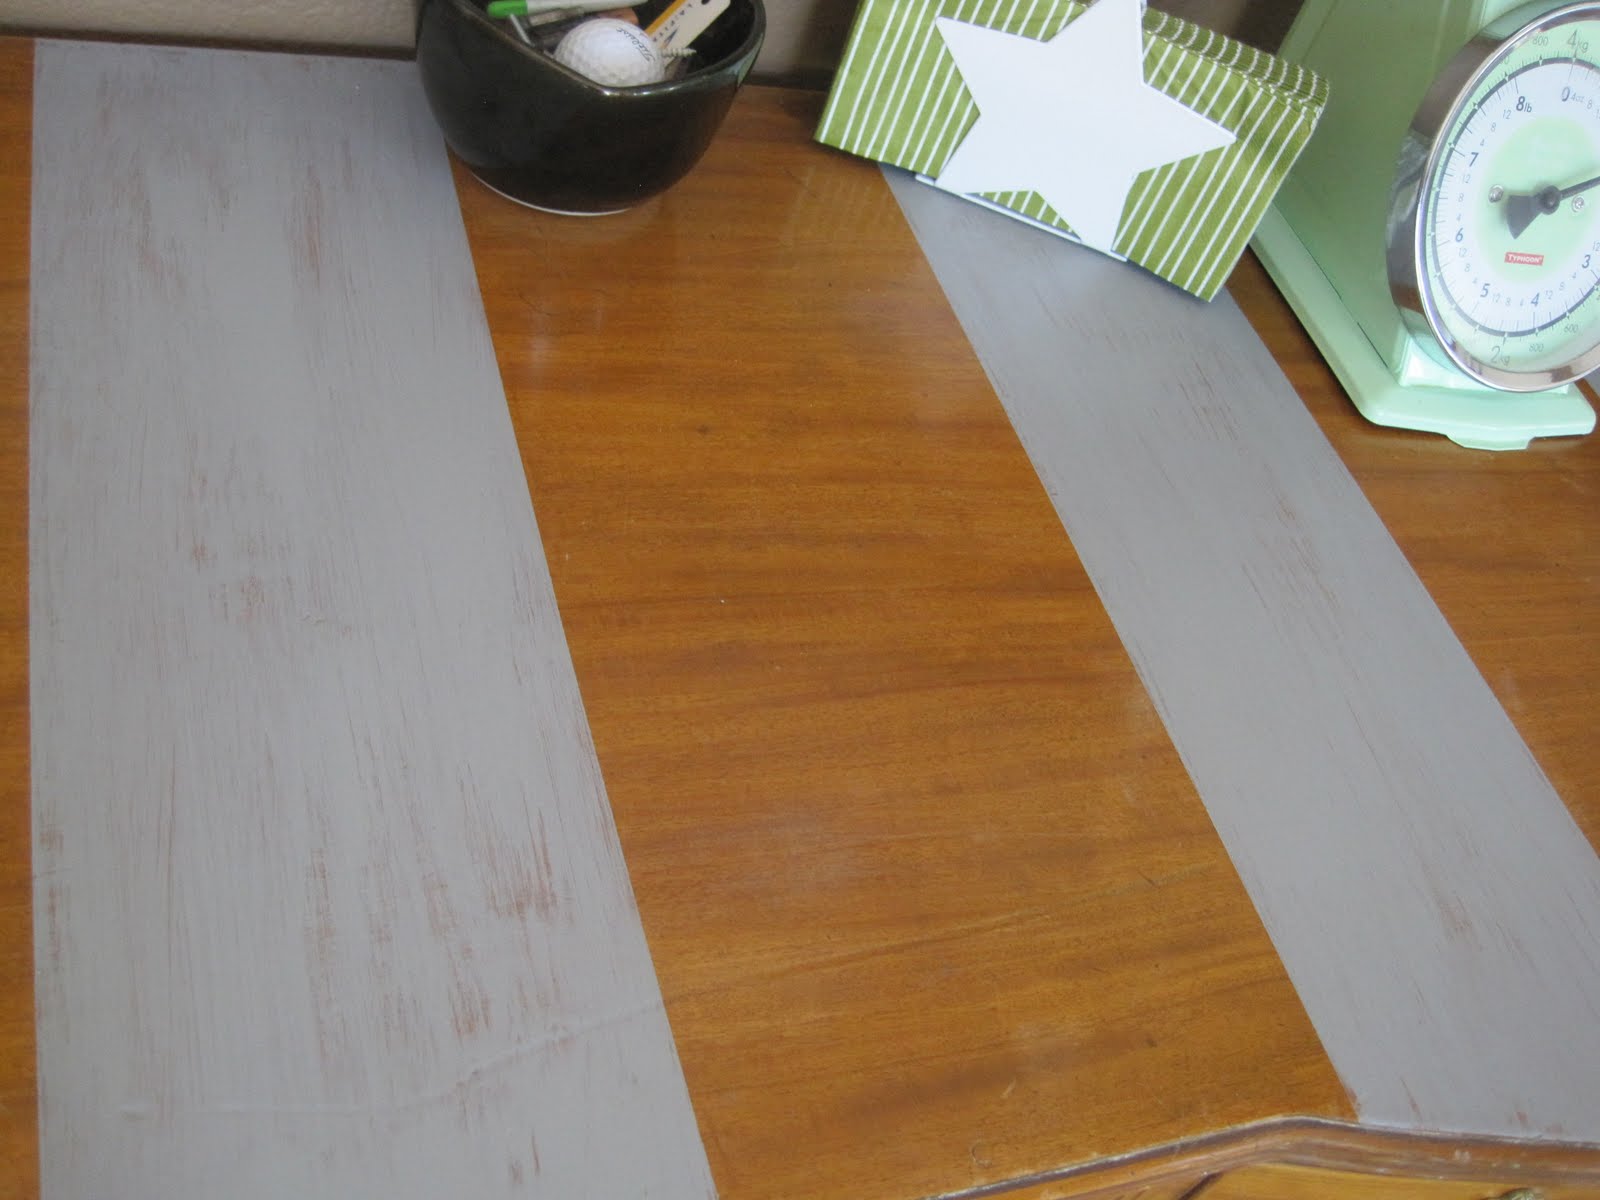
Hey there! I wanted to share a little project that I just completed with all of you. My next door neighbor came over the other day and mentioned how much she loved my dining table. Well I was looking to unload it and get a rectangular dining table that fit at least 6 chairs comfortably. She had the rectangular table that I was looking for....and I had the oval table that she was looking for. She suggested that we trade and I was all over it!! Her table was a rather typical farmhouse style table. Orange-ish wood laminate top over particle board, with solid wood white painted legs. I'm sure you can all picture what I'm talking about. It looks kinda like this...
 Mine has slightly cooler legs and a way less cool/rustic/antique top. Even though the top was not solid wood the table is STURDY and has a leaf and I loved the size. I knew I wanted to re-stain the top of the table but didn't know how to go about that considering it is particle board with a VERY thin piece of veneer on top. Have any of you ever tried to research how to re-stain veneer? There is very little information out there! I found a great tutorial on Young house Love showing how to refinished a veneer dresser...but they cautioned against re-staining a piece of furniture that has a very thin veneer...which mine does. Well I figured I'd just go for it...I didn't have anything to lose since the table was free and I figured if it turned out horrible I could always just paint over it.
If you have a table like mine, and the top is a little worse for wear then assemble the following items and lets get this party started!!
You will need:
Paint stripper-I used Klean Strip but have used Citristrip before and liked it just as well.
Metal scraper-Mine is a husky brand scraper that I use ALL.THE.TIME. HD carries it.
Paint brush-I recommend digging out the old crusty brittle brush for this project...the stripper softens it and removes the built up gunk and afterwards you can wash it and it's usable again! Added bonus!!
Rubber gloves/mask-or you can be like me and work outside where there is lots of airflow...do use gloves though!
Wire brush
Power sander and 120 grit sandpaper
Steel wool-any grade will work. I used a fairly coarse kind.
Pre-stain conditioner-Made by Minwax and a VERY necessary step of this project!
Stain-My go to stain is always Minwax liquid stain in Dark Walnut.
Poly coat-I use Minwax wipe on poly in Satin. It works great and no brushes to clean.
Ok so the first step to this project is to strip your table top. You can sand off your finish on a solid wood table but with veneer that's really thin like mine, I recommend stripping instead....much gentler on your table top!
Apply the stripper in an even layer all over your table top and use your brush to make sure it gets the top totally covered. Make sure that the stripper gets into the grooves and around the edge. (make sure you do this in your garage with the door open, or outside so you get tons of airflow...strippers are NASTY smelling and toxic...you want to be safe with this stuff!!) After you've applied the stripper you want to let it sit on the top for about 20 mins. If you are in an area that is really hot you can apply wax paper in a single layer over the stripper to keep it from evaporating and getting sticky. I didn't do this step. After a few mins you will notice little bubbles starting to form and the finish will start to look clumpy and weird. That's good! After 20 mins or so has passed scrape off a little and see if it gets down to the bare wood. If so then you are good to go. Scrape off the old finish making sure to go in the direction of the wood grain. Put the gunky finish in a plastic grocery store bag as you scrape it off. Once your table top is totally scraped off then use your wire brush and scrub the grooves and edges with it. That'll remove any finish that's stuck in grooves or around the edges. If any of the finish is still clinging stubbornly to the table just add a little more stripper and repeat this step. Mine took 2 full coats of stripper! After the top is all clean wipe it down with an old towel soaked in hot water...really scrub the top and sides...use the wire brush in some soapy water if you have to. Make sure its really clean.
Once the top is fully dry you want to give it an even light sanding. I used 120 grit sandpaper but you could use 240 too and that would work great. I just used what I had. Sand lightly over the whole top and sides in the direction of the wood grain. Make sure not to let the sander sit on any area for too long as it'll wear down the veneer and the stain won't adhere correctly.
After the sanding step you want to wipe down the whole thing with a damp cloth and let it dry.
Next use a paper towel and apply a light coat of the pre-stain conditioner. This will prep the surface and make sure that the stain adhere's evenly! There is NOTHING worse than have a leopard spotted table. I have been there and it's not fun! After it's sat for a few mins wipe of any excess.
Here comes the fun part...the stain! Slap on those rubber gloves...you'll need them!
Ok so there are several schools of thought on stain. You can either apply it with a cloth, a brush, or a sponge brush applicator. I used the sponge brush because it lays down an even amount of stain with each stroke and you can throw the sucker away afterwards! Love that part. :) Lightly apply a thin layer of stain over the whole top and sides of your table...make SURE you don't leave streaks and make sure to go in the direction of the wood grain!!! Let it sit for anywhere from 5-20 mins depending on how dark you want your table. I let it sit for about 15 mins. Lightly wipe off the stain with a clean lint free cloth. I used an old tee shirt. After that I let the table dry for a couple hours. After it was dry to the touch I applied a second coat of stain in the same way. I let this one sit for about 20 mins. Wipe off again. You could apply a 3rd layer if you want but I liked the color after the 2nd layer so I stopped there. Let table sit OVERNIGHT. Do.not.get.overly.impatient with this step...you'll thank me later!
Ok its the next day and your table has had overnight to cure! Sip your morning coffee and give your trusty can of Wipe on Poly a thorough shake! Slap on those "clean" rubber gloves again and grab another tee shirt (or if you have about 50 mate-less athletic socks like I do you can put one of those guys over your gloved hand and use it to apply the poly...kind of like a car wash mit! Works GREAT!) The back of the poly can says to apply a little to a cloth and rub on the table in a circular motion. You could do that if you want...but I'm impatient and I don't like all my poly absorbing into my cloth so I just dumped a small amount directly on to my table top and rubbed it around evenly with the athletic-sock-poly-applying-mit. Works even better that way! You will see a small amount of stain residue on your sock...that's ok. After the poly fully dries you want to rub the whole top lightly with steel wool to smooth the surface. You will see small scratches and you will have a momentary freak out moment thinking that they will ruin your finish. Don't freak. It'll be fine! Wipe down table top to remove dust and apply a second coat in the same way. Let dry...wipe even more lightly with steel wool and repeat with another coat. After your 3rd coat dries you shouldn't have to use any steel wool. If you use it in between the first and second coat then you normally have a VERY smooth surface by that point.
After your table is no longer fumy you can bring it inside. I wouldn't recommend using it for normal use until at least 24 hours after you finish it. It says on the can that it takes like 4 weeks to fully cure so you want to use it very gently for a while...or at least try!
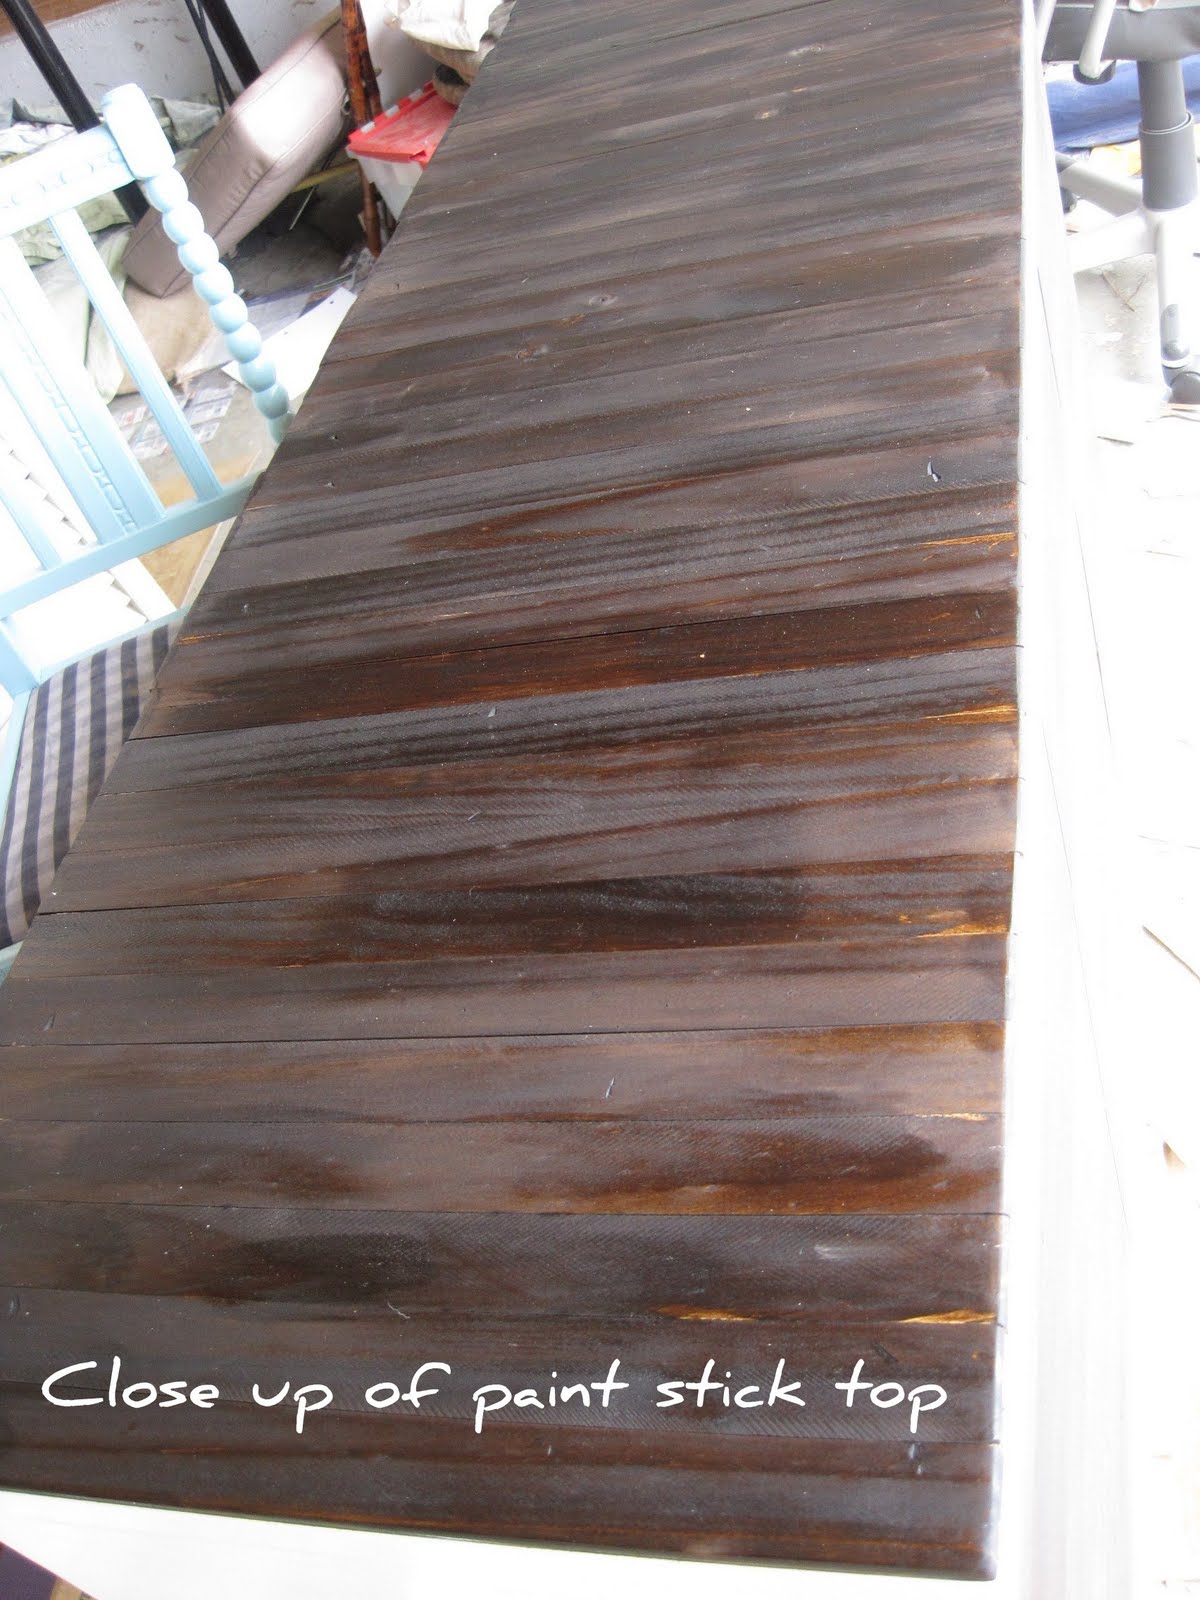
Phew!! You guys still here?? Want to see my finished product?? I thought so!

 Pretend you don't see the pile of randomness on my kitchen counter in the 2nd pic! So there ya have it! I'm gonna be touching up the white paint on the base of the table thanks to some unfortunate paint stripper drips...but that's gonna wait a bit. I adore my new table and I know you will adore yours too!!! Oh and this may seem obvious to some of you but make SURE when you refinish your table that you do the leaf too!!!!! I did most of my table before I remembered the leaf. There's nothing worse then forgetting and having everyone over on thanksgiving and being sheepish about your two tone table top! So do the leaf too ok? Ok! I hope you all have a fabulous weekend!!!!
Linking up to these parties:
Twice owned Tuesday @ House of Grace

![]()


If you have a table like mine, and the top is a little worse for wear then assemble the following items and lets get this party started!!
You will need:
Paint stripper-I used Klean Strip but have used Citristrip before and liked it just as well.
Metal scraper-Mine is a husky brand scraper that I use ALL.THE.TIME. HD carries it.
Paint brush-I recommend digging out the old crusty brittle brush for this project...the stripper softens it and removes the built up gunk and afterwards you can wash it and it's usable again! Added bonus!!
Rubber gloves/mask-or you can be like me and work outside where there is lots of airflow...do use gloves though!
Wire brush
Power sander and 120 grit sandpaper
Steel wool-any grade will work. I used a fairly coarse kind.
Pre-stain conditioner-Made by Minwax and a VERY necessary step of this project!
Stain-My go to stain is always Minwax liquid stain in Dark Walnut.
Poly coat-I use Minwax wipe on poly in Satin. It works great and no brushes to clean.
Ok so the first step to this project is to strip your table top. You can sand off your finish on a solid wood table but with veneer that's really thin like mine, I recommend stripping instead....much gentler on your table top!
Apply the stripper in an even layer all over your table top and use your brush to make sure it gets the top totally covered. Make sure that the stripper gets into the grooves and around the edge. (make sure you do this in your garage with the door open, or outside so you get tons of airflow...strippers are NASTY smelling and toxic...you want to be safe with this stuff!!) After you've applied the stripper you want to let it sit on the top for about 20 mins. If you are in an area that is really hot you can apply wax paper in a single layer over the stripper to keep it from evaporating and getting sticky. I didn't do this step. After a few mins you will notice little bubbles starting to form and the finish will start to look clumpy and weird. That's good! After 20 mins or so has passed scrape off a little and see if it gets down to the bare wood. If so then you are good to go. Scrape off the old finish making sure to go in the direction of the wood grain. Put the gunky finish in a plastic grocery store bag as you scrape it off. Once your table top is totally scraped off then use your wire brush and scrub the grooves and edges with it. That'll remove any finish that's stuck in grooves or around the edges. If any of the finish is still clinging stubbornly to the table just add a little more stripper and repeat this step. Mine took 2 full coats of stripper! After the top is all clean wipe it down with an old towel soaked in hot water...really scrub the top and sides...use the wire brush in some soapy water if you have to. Make sure its really clean.
Once the top is fully dry you want to give it an even light sanding. I used 120 grit sandpaper but you could use 240 too and that would work great. I just used what I had. Sand lightly over the whole top and sides in the direction of the wood grain. Make sure not to let the sander sit on any area for too long as it'll wear down the veneer and the stain won't adhere correctly.
After the sanding step you want to wipe down the whole thing with a damp cloth and let it dry.
Next use a paper towel and apply a light coat of the pre-stain conditioner. This will prep the surface and make sure that the stain adhere's evenly! There is NOTHING worse than have a leopard spotted table. I have been there and it's not fun! After it's sat for a few mins wipe of any excess.
Here comes the fun part...the stain! Slap on those rubber gloves...you'll need them!
Ok so there are several schools of thought on stain. You can either apply it with a cloth, a brush, or a sponge brush applicator. I used the sponge brush because it lays down an even amount of stain with each stroke and you can throw the sucker away afterwards! Love that part. :) Lightly apply a thin layer of stain over the whole top and sides of your table...make SURE you don't leave streaks and make sure to go in the direction of the wood grain!!! Let it sit for anywhere from 5-20 mins depending on how dark you want your table. I let it sit for about 15 mins. Lightly wipe off the stain with a clean lint free cloth. I used an old tee shirt. After that I let the table dry for a couple hours. After it was dry to the touch I applied a second coat of stain in the same way. I let this one sit for about 20 mins. Wipe off again. You could apply a 3rd layer if you want but I liked the color after the 2nd layer so I stopped there. Let table sit OVERNIGHT. Do.not.get.overly.impatient with this step...you'll thank me later!
Ok its the next day and your table has had overnight to cure! Sip your morning coffee and give your trusty can of Wipe on Poly a thorough shake! Slap on those "clean" rubber gloves again and grab another tee shirt (or if you have about 50 mate-less athletic socks like I do you can put one of those guys over your gloved hand and use it to apply the poly...kind of like a car wash mit! Works GREAT!) The back of the poly can says to apply a little to a cloth and rub on the table in a circular motion. You could do that if you want...but I'm impatient and I don't like all my poly absorbing into my cloth so I just dumped a small amount directly on to my table top and rubbed it around evenly with the athletic-sock-poly-applying-mit. Works even better that way! You will see a small amount of stain residue on your sock...that's ok. After the poly fully dries you want to rub the whole top lightly with steel wool to smooth the surface. You will see small scratches and you will have a momentary freak out moment thinking that they will ruin your finish. Don't freak. It'll be fine! Wipe down table top to remove dust and apply a second coat in the same way. Let dry...wipe even more lightly with steel wool and repeat with another coat. After your 3rd coat dries you shouldn't have to use any steel wool. If you use it in between the first and second coat then you normally have a VERY smooth surface by that point.
After your table is no longer fumy you can bring it inside. I wouldn't recommend using it for normal use until at least 24 hours after you finish it. It says on the can that it takes like 4 weeks to fully cure so you want to use it very gently for a while...or at least try!
Phew!! You guys still here?? Want to see my finished product?? I thought so!


Linking up to these parties:
Twice owned Tuesday @ House of Grace