Sneak peek

Hey people!! I scored the COOLEST old box on Craigslist the other day for 5 bucks! I have NO clue what to do with it yet...I'd LOVE some help from you guys..not only on what this thing is or "was"...but what to do with it!
Pardon the crappy cell phone pic. At least I got a before pic this time right?
So what do you guys think this is? Is it an antique? I know its old...but is it valuable? Should I paint it? Or strip it and leave the bare wood...with some wax? Should I add feet? I'm really stoked to redo this thing but totally stumped on WHAT to do. Any help would be...uh...helpful! :) Have a good week guys!

Growing up...


 My shortcomings as a Mom are plentiful....some days they are all I can think about...and I forget that I do a lot of things right too! I try and prepare my kids to help themselves...to be autonomous...to find their own toys instead of always needing me to find them. While that's a good skill to have, it also has caused my mind to compartmentalize their needy behavior....and that is NOT good. Something that i realized today is that my kids need to learn how to stand on their own two feet...but they also REALLY need a Mom that rocks them to sleep and allows them to be little. It honestly makes me tear up just thinking...and regretting...all the times that I have NOT done that because "they have to learn". This is true...they DO need to learn...but rocking them...singing to them...nurturing their precious spirits...doesn't screw them up...it allows us Mommy's to remember how precious and fleeting these little kid days are. It allows us to have those still quiet moments with them. Smelling their hair. Rubbing their back. Wishing that we could record this moment and remember it always. I am going to make a "belated New years resolution" to be present with my kids...and to take it all in...because life with small children is an amazing selfless time that we will never get back...and we need to hold on tight for as long as we can!!

Pallet Coffee Table

Hey everyone! So I got a little creative this week and decided to build something. Most of you are probably familiar with...and obsessed with...Ana-White.com (formerly Knock off wood)...as am I! I have looked at so many plans on her site and wished and hoped that I owned all the great tools that would make those projects possible. Well our good family friend's...and neighbors...were over for dinner recently and I mentioned Knock off wood to them. They had never heard of it and upon showing them the site they IMMEDIATELY planned to make a new bed for themselves. Well they needed a few new tools in order to make the bed so I took advantage of their tools recently and built this....
I built a coffee table. Out.of.pallets. Yup..totally out of pallets. No other wood was used other than that fabulous, rustic, often-overlooked-for-the-true-beauty-it-possesses Pallet wood!
Now all of you have seen pallets around the blog-osphere. You've probably seen them behind grocery stores...mini marts...in people's trash cans on garbage day. Why not pick these up rather than putting them in the land fill? You will have free scrap wood...BRIMMING with character and potential just waiting for you to unlock it. You could build shelves, frame out a cool piece of art, build your kids a fort, make benches for your deck, build a coffee table, etc. The possibilities are endless! Visit my Pallet Pinterest Board to see way more options for projects! I am kinda obsessed...I should just warn you before you click that link.... Ok so here's some more pics of my purty table. I'm gonna give you a VERY quick and VERY informal run down of my process.
Step 1-Leave pallet outside for about 6 months waiting for someone with tools to feel bad enough for you that they let you use them.
Step 2-Oooh and aaaah over all the extra rustic-ness that was added to the pallet from all the neglect.
Step 3-Take the bottom boards off the pallet frame. I used a crow bar and a large burly hammer. It really really helps if the pallet is wet by the way...makes the wood MUCH more pliable. I just put the tip of the crow bar between the base and the boards I wanted to remove and hammered it in a ways...and then just wiggled it up and down and back and forth until each board was free. SAVE THE NAILS that are in the pallet....all that rust will add MAJOR character to your piece of furniture.
Step 4-Once all the bottom boards are off you will be left with just the frame and boards on top. Most pallets have 3 or 4 (depending on the size of course) boards on top with fairly large spaces in between. I used the bottom boards that I had just removed...cut them in width so they fit in the gaps on top...and nailed them on (with my rusty nails of course...and some wood glue). I used a jig saw for this...and you'll want to too...you will most likely not be cutting a straight line. Pallets are not straight or square. You will have to just trim off a little at a time until you get the right width....but its worth it...they have SO much character!
Step 5- Once all your boards are on you'll need some legs. You could use whatever legs you want as long as they are the length you want but I wanted to use pallets for legs as well. I had another pallet that was kinda in pieces...and I used part of the frame cut into 4 equal pieces for the legs. The frame is made of 2/4's and is very sturdy so it worked great.
Step 6-Sand...sand....sand....oh...and sand! You will need to sand...did I mention that? Pallet wood is FULL of splinters and very rough...but once you get through all that yuck you find great wood underneath. I used about 8 sheets (yes FULL sheets) of 80 grit sandpaper and then a couple sheets of 220 to get the level of smoothness I wanted.
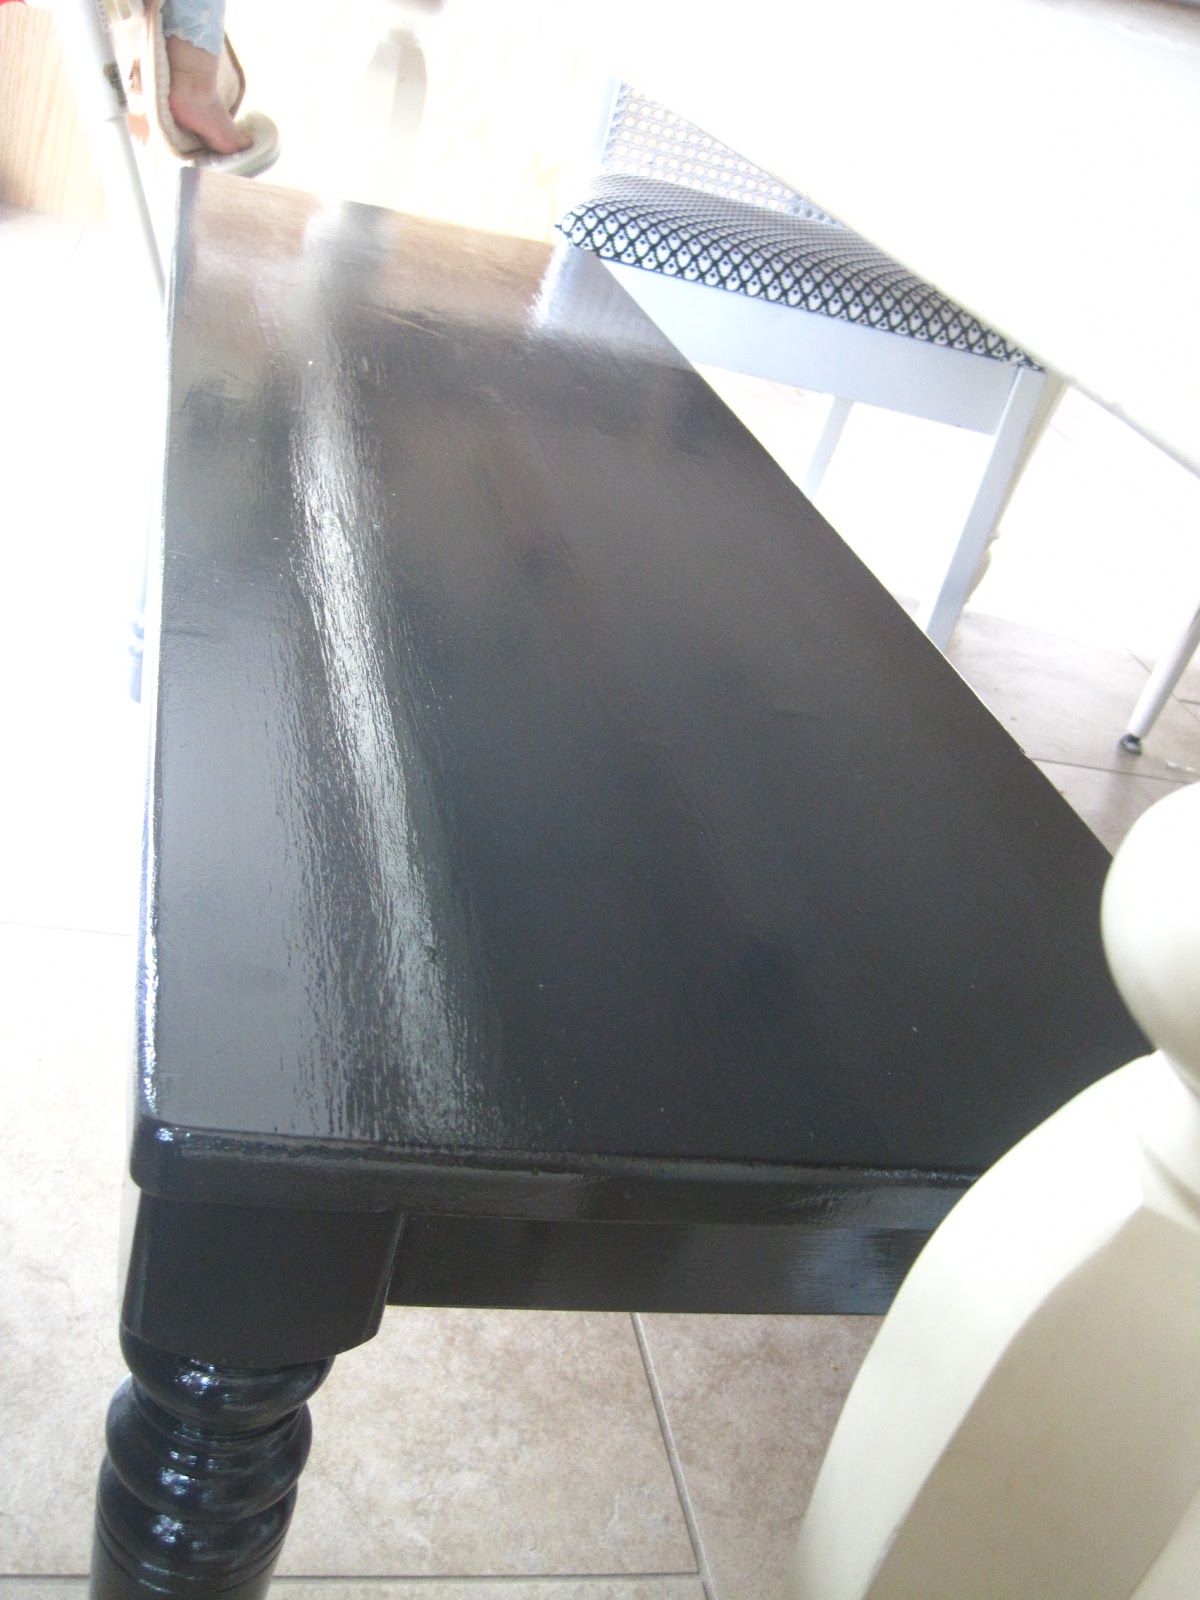
Step 7-Paint if desired. I opted to do a very subtle gray wash. A tablespoon of light gray paint mixed with about a 1/4 cup of water. Just slop it on and let it dry.
Step 8-Wax. I used Minwax plain furniture wax...and applied about 3 coats. Super smooth finish and has a nice sheen. WINNING. (Please tell me I'm not the only one that thinks of that when I hear the word SHEEN!!!)

This project took me two days to do but only because I couldn't work on it straight through without a couple toddlers needing me....and because I'm an EXTREMELY amateur power tool user. AND because I had to rip those friggin pallet boards off! That takes a while!
So this project cost me $0.00...a little time...a friend's power tools....that's it! Totally love how it turned out. I am on a furniture building kick now. I WILL be making a new dining table soon...stay tuned! Here's some more pics....


Linking up with the following fab parties:

DomesticallySpeaking


HOG

Chic on a Shoestring Decorating
Furniture Feature Fridays
The Shabby Nest

Funky Junk's Saturday Nite Special


Photobucket

Keeping it real....

Random tid bits about my life this week...
- I haven't done a load of laundry...or folded any of the probably 5 loads of laundry that's piled on our bonus room couch at all this week.
-My upstairs hall way outside the kid's rooms is always a pile of various dirty laundry items (see above), dirty diapers, toys, books, etc.
- I really REALLY Love Taylor Swift's new album. Its pretty much the only thing I listen to right now.
- I adore being a stay at home Mom...really I do...but there are SO many times a day that I think I am failing miserably at being a Mommy...I always have to check my attitude and pray throughout the day to get through.
- I was buying fabric at Jo Anne's a couple days ago. While in line at the cutting counter with both of my kiddos in the cart I was talking to some older ladies in front of me. They were both watching me...watching my kids...watching how I acted towards them..watching their behavior. I felt very uncomfortable until one of them leaned over and said, You know your kids are VERY well behaved! Whatever you're doing is working! I could have kissed that woman! Sometimes it takes a random person telling you that you are doing a good job to totally change your mind set.
-I really struggle with the idea of perfection in both my own behavior and my kids attitudes. I need to look for progress...not perfection.
- I am NOT good at working out. I really love it but am not very self motivated. I really need a personal trainer to move in next door to me and kick my butt daily. Drag me out of my sweats and make me jog. That'd be awesome!
- I adore hand me downs! For my kids. For my self. For my home. I am never too proud to accept something that's free and needed. One person's trash is another person's treasure.
- My daughter's smell is the most intoxicating aroma to me. I ADORE the way she smells when she first wakes up in the morning. I sit in our living room chair holding her while she holds her blanket and I just sniff and sniff her cheeks and neck. I wish I could bottle up that smell and the feelings that come with it...I always want to remember it!
- Driving in the car yesterday my son started singing...Here I am to worship, here I am to bow down, here I am to say that you're my guy! I didn't even know he knew that worship song...it was so adorable. Then...two seconds later he looks at me and says, Mommy you're beautiful...you look like an angel! I could've melted into a puddle right there! Love that boy!
- My husband is my soul mate. I don't say that because we've always had a great marriage...in fact we haven't always had a great marriage. We  have both grown so much over the past year. We've learned to put each other first. We've been married almost 7 years but I feel like our marriage JUST started.
- God continually surprises me. When I imagine what my dreams are...and then I see Him answer them one by one I am just in awe! He's SO good to me!
- I adore living in Southern CA...I really do! But I am seriously jealous of all the people in the US getting snow. We have sunny skies at 70 degree weather! Not like I'm complaining....but I would've liked to wear my sweaters a little more this year!

I hope that wasn't too random for you all! I'd love to hear random stuff about all of YOUR lives!

Brighten up

Hey peeps!! I wanted to share a little craftiness with you guys. I have had my sewing machine out lately...and when I say "Out"...I mean its taken up residence on the end of my dining room table for easy access. I wish so bad I had a sewing room..but alas...I do not....anywhoo. I realized that I needed to update my couch pillows. We have the Ikea Karlstad sofa...with we LOVE...and it has a dark gray slipcover...which we LOVE (with two messy kiddos with sticky fingers) but the couch cushions that were on it were from our last couch. Our last couch was cream microfiber so I added dark gray pillows to it to balance out all the light-ness. Well this couch is gray+gray pillows=Way too much gray! Is that even possible?? I adore gray.

Anyways I wanted to bring A LOT of color to my couch. Bright fabrics...fun for spring (which we are having in southern CA) I adore using random things to make pillows. Remember my Place Mat pillow from many moons ago?
Well I was in World Market the other day looking for some new...well...everything! World Market has so many gorgeous things that I could simply move in and live there!
I stumbled across their table linen area and my eyes fell upon the most gorgeous cloth napkins to ever be created!
OOH LA LA...that bottom fabric is the cloth napkins (linen..soft as a baby's bum..and saturated...amazing colors!) and the top two fabrics are some other fun ones I found at Jo Anne's to make some other fun pillows. The left one is a mustard yellow paisley...and the right one is a bright fun colored Ikat fabric. I love me some Ikat. That is all.

So because I'm a follower...I used Prudent Baby's zipper pillow tutorial for the napkins. They just happened to be the same size as the pillows that I needed to cover so it was easy peasy to transform them! This tutorial is seriously AWESOME people. I never ever follow patterns. I'm a lazy seamstress and I like to just sit on the floor with my laptop and watch someone else do the tough work. Yup. That's me. Not really...its because patterns scare me. Anyways.

Tah dah!!!!! I seriously adore how these pop on our dark sofa. They brighten up the room so much. This is gonna be my decor inspiration fabric from now on...or at least for the spring thru summer time period.
Here's my zipper. I adore being able to wash my pillows. Sure a non zipper pillow is fine...but a zipper pillow looks like you bought it. It makes a huge difference in how professional a pillow looks I think.
That Ikat fabric became this snazzy number. Check out that sham edge. Oh ya that was all me! I didn't put a zipper on this one. I created a sham edge on 3 sides and made a button closure on the far left side with orange vintage buttons.
I really love how a simple sewing project can transform your space. I seriously love how these came out!
So what have you all been crafting lately?? Anything inspiring? Share with me puhlease! :)


Sharing at:

Saved by Suzy

Gray bench redo

Hey everyone! So I just refinished a bench. No big deal...but I wanted to share it with you! I had been looking for a bench for a LONG time. I wanted one to go on one side of my dining table so my kiddos could share it. I wanted NO upholstery...totally wipable and kid proof...and a dark gray-ish black color. Well have any of you tried to find a bench on CL and not pay a fortune? Its almost impossible!!! You could make one yourself for not much money thanks to The fabulous Ana White. 
But I wanted one pre-made...SOLID...kinda ugly but good bones...and CHEAP CHEAP CHEAP! Well the other day when I was perusing Craigslist I found my bench. 15 bucks and the perfect size!
Pardon the partially primed top. I was DETERMINED to be a good blogger and take a before pic...and I ALMOST forgot! Phew.  Ok so you can see...sturdy...kinda gross looking...good bones! Just what I wanted to be able to make it glam and functional!
So here was my process...
Sand the top thoroughly with the palm sander.
Wipe clean
Prime that sucker
Dry time
One coat of my most favey fave new color...
Dry....
Another coat of the above super rad color
Dry
SHELAAAAC like crazy a few times with adequate dry times in between of course...I wanted this thing to be tough as nails!

So after that whole process I decided to let it simmer in the garage and get less fumey before I exposed my kids to it. Now its in the house and we LOVE it.
Oooh....Aaaaaah! What is it about a bench with a shiny top that just makes my heart sing? I adore this thing...such an easy makeover but so practical for our family and all those sticky fingers! Love you guys! Hope you have an awesome week!!!

Linking up with my fellow partiers:

DomesticallySpeaking

Laundry room Make-Over...the reveal!!

Hey People! So in This post I told you about my extremely icky laundry room. We moved into this house 5 and a half months ago and I just couldn't take it anymore!! I showed you guys the vibe I was going for with this space. Bright. Cheery. Fun. Those were things that I felt this room needed. Its small and a small room needs some punch sometimes! So here we go....
 I was originally going to do horizontal stripes in here. I had seen SO many adorable rooms with horizontal stripes and I just loved the look. But I had an...ahem...mishap when I decided to just jump right into the project and start taping without painting my base color first. Well lets just say I was VERY meticulous taping off those stripes. They were even spacing...level...and they looked perfect! After I got the whole room taped (4 hours approx) I realized that I should've made it easy on myself and painted the turquoise on first. ***Slaps forehead in disgust!*** I shed a few tears...violently ripped off my tape...and started painting. So needless to say I didn't have enough energy or tape to redo the horizontal stripes. I did vertical instead and I love the way it turned out!

Pallet board with hooks attached. Great for holding hangers and drying my un-mentionables! :) Oh and towels...those too!
AWESOME-SAUCE rack that I've had for years...from Ikea. Never thought of using it in the laundry room but was super STOKED to discover that not only does it fit perfectly on this wall...it holds 4 laundry basket while only taking up a small amount of space. WINNING! It also matches my stripes. Added bonus! (note to self...buy matching laundry baskets)
Crib side rail drying rack. I'll let that last part sink in for a minute....
So have any of you stopped using those potentially harmful drop side cribs...but couldn't bare the idea of throwing it away so you've further jammed your garage full of yet another "sentimental baby object". Well clear out space in your garage and dry your clothes at the same time! I simply attached some heavy duty hooks into the ceiling studs...got some silver chain cut in 4 equal 2 ft lengths at Home Depot...and hung that baby from the ceiling! It works seriously awesome! I hang all my hubby's work dress shirts...keeps me from having to iron them. Ya...i don't like to iron...you probably don't either so make this drying rack and save yourself some time!
This is an old chippy entertainment center....ya know...when tv's were small and could fit on top of one of these. This thing has had MANY jobs in our house. Shoe rack. Side table. Computer cart. And now laundry organizer and trash can holder! Its a jack of all trades and I love its rustic look! Added a cute cloth box from Target (my second home) to the top for all the odds and ends that end up in the laundry room.
I made this sign in Microsoft Word and printed it out...stuck it in this old frame and VOILA...laundry art! Also my little jade plant loves this room! Lots of light all day!
Cheap pine board that I painted white...super sturdy and big. Love all the storage it brought to the room!
See that...over on the left side? That's my faux roman shade! I already had this cute fabric and it fit the room perfectly! I like to wing it so I made this roman shade in about 10 mins and tied up each end with jute twine. Its also attached to the wall above the windows with upholstery tacks! Cheap and cute!

That's it. Its done. I have several bruises and my sciatica flared up from all the bending...crouching behind the washer and dryer...etc. but I'm SO glad I did it. LOVE this space. Laundry is more fun now!

Sharing at the following fab parties:
Funky Junk's Sat Nite Special

Laundry room make-over

Hey people! I wanted to share a little....er....not so little laundry room makeover that I'm doing. When we moved into our house in California we were STOKED to find out that we had a laundry ROOM (an actual room) upstairs near the bedrooms. It had a door and everything! (we've always had the laundry closet...or the garage laundry set up). We love the convenience of it but HATED the way the laundry room looked. The walls were stark white and stained and dusty...and the landlord had started to paint the room and then ran out of time. He painted one wall DARK brown...and he didn't do a good job...i mean seriously it looked like a 2 year old went at the walls with their hands! eww. (wish I had a before pic to insert right here...hangs head in shame...BAD blogger!!) Anyways, I scoured Pinterest for inspiration pics. I wanted something FUN...since its a small room I wanted it to have a lot of punch and interest. I have a pretty decent collection of fun Oops paints that I planned to use...one of which is a fun turquoise. Well one day I was on Pinterest and found this picture....
It was super cute...didn't require any demolition...and was fun. Perfect!
Well yesterday was painting day. After lugging my kiddos to Home Depot for some supplies I came home...parked those kiddos in front of Yo Gabba Gabba (thank God for educational TV sometimes)
and got started taping. Well I was meticulous with my taping..took my time (a total of 4 hours off and on)...and made sure my lines were not only level...but even with the others...equal spacing...etc. After I got all my lines taped I grabbed my paint and got ready to start...realizing that I should have painted my BASE COLOR FIRST!!!!!!!!!!!!! GRRRRRRRRR! 4 hours wasted. Now I could have painted the first set of lines...and then waited...and then retaped and painted the second section...but that would have been WAY more taping than I wanted to do...and after shedding a few tears....I violently ripped down all my tape and started painting my base color...A Martha Stewart turquoise color. Well after two coats of that and taking care of kiddos...making dinner (which was pb/j last night since I could barely lift my arms by that point) it was 11pm. I taped off all my stripes again...which I decided to do vertical this time since its easier. I got through 3 cream stripes and could barely move I was so tired. So I'm tackling the rest of the project today and hoping that I can get it finished and put the room back together. Here's a pic of a GREAT bathroom with veritcal stripes...
So pretty huh? Wish I had that tile...and that dormer...that rustic shelf unit would be nice too. Anyways....so I will share my dramatic reveal "hopefully" today!!! Have a fabulous day friends!!

Green Hutch with hot legs


 Hey guys! I posted this post a while back about a hutch that I got for free from my friend. She didn't like it, wanted it gone, and I GLADLY took it off her hands. Swoon..I was in love with the spindly legs and curved front...and those knobs. to.die.for. Well I lived with it in its birdseye maple-ness for several months before I just couldn't stand it anymore and I HAD to paint it! I used a combo of two pints of oops paint that I had in my garage. I wanted a kind of bright mint green and I think I achieved my goal! I went completely against my normal protocol on this piece. I didn't sand it AT ALL. Didn't prime it either! GASP. I also didn't strip it to remove the wax. I wanted to get it painted while my kids napped and I was trying to be quiet...so I mixed the paint...realized I dug the color...and slapped it on this sucker! I LOVE how it turned out. The color is bright but goes so well in the room! Its amazing how much more I love this piece now. Its a statement maker...that's for sure! What do ya'll think?


Linking up with the following fab parties:


HOG

Furniture Feature Fridays
Photobucket

Saved by Suzy
The Shabby Nest
Chic on a Shoestring Decorating
Photobucket